7 Yoga Poses That Test (and Build!) Your Strength

When I held my first yoga arm balance, all I could think was, “Holy cow! I am holding myself up with my own two hands! No one is helping me! I’ve got this!” Yoga poses translate into everyday empowerment: What you feel on the mat, you feel in life. By practicing these simple yoga poses on a weekly basis, you can build the core and arm strength you need to pull off more challenging moves and give yourself a major confidence boost. Try one pose per each category at least three times a week—you can rest in child’s pose between categories if you need to.

IMG_1768 (1)

Category A: Forearm Plank

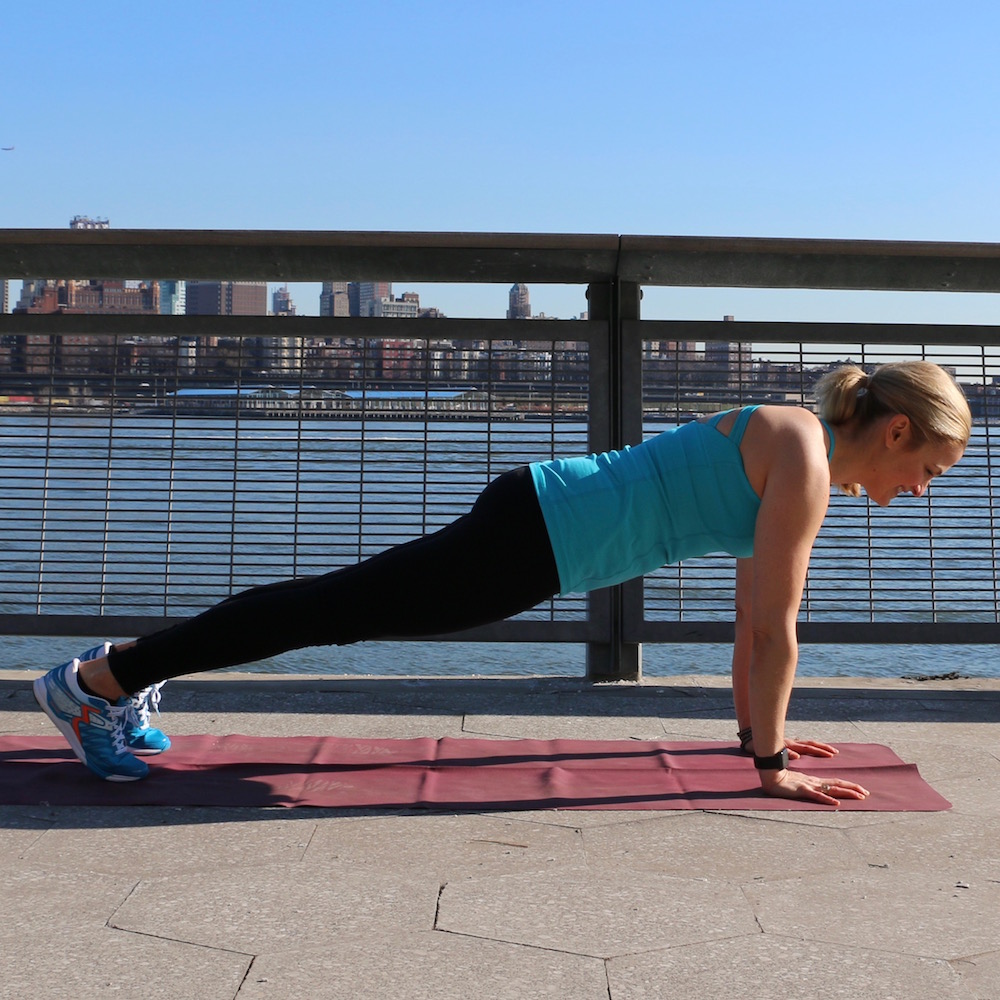
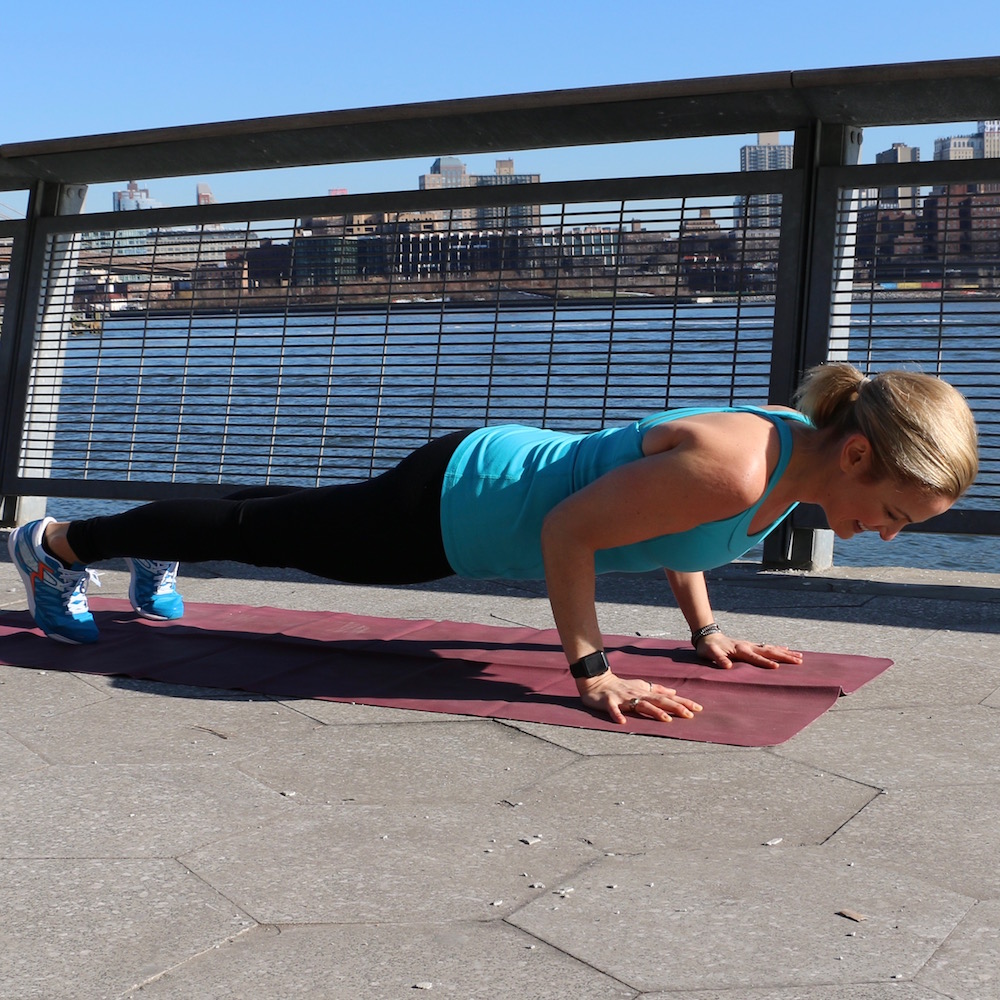
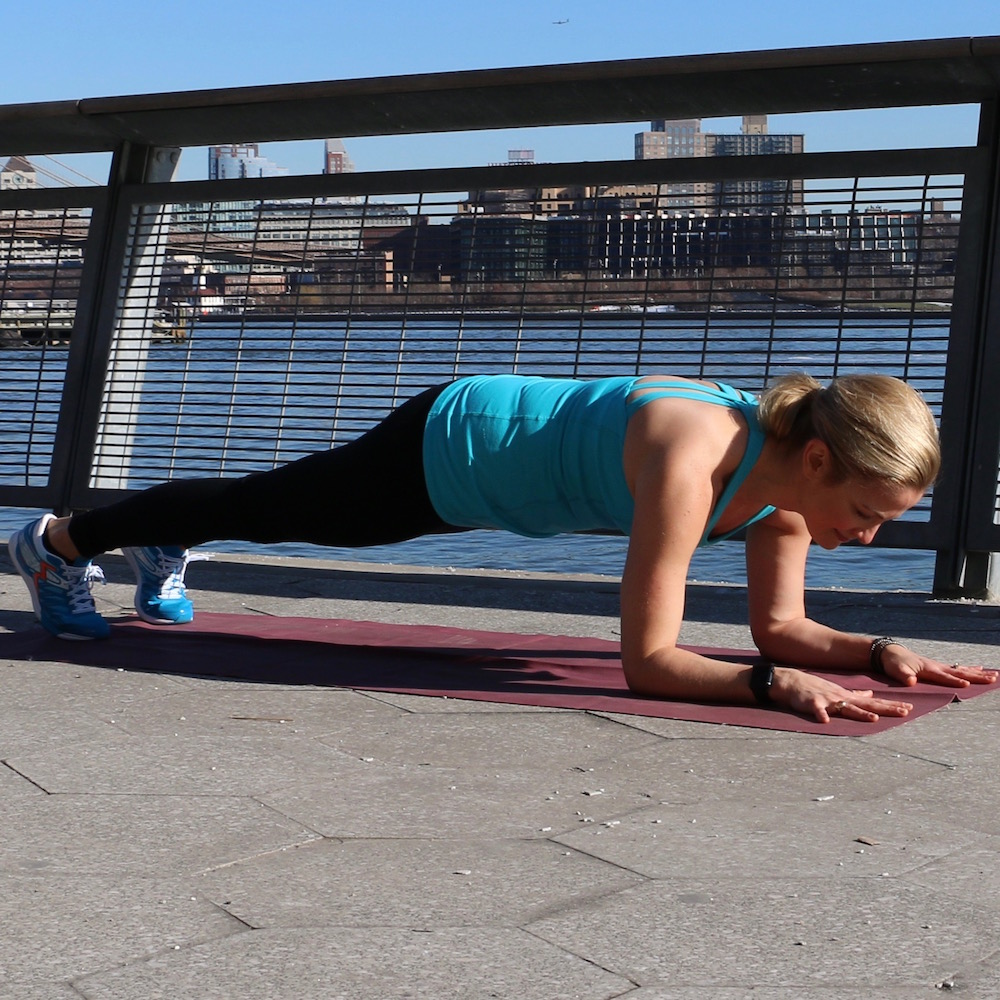
A forearm plank is a great place to start when working on core and arm strength. For those who struggle with a full plank, this pose can offer a feeling of accomplishment. Stay in forearm plank for 30 seconds, and when that feels manageable, work up in increments of 10 seconds until you can hold the pose for two minutes.

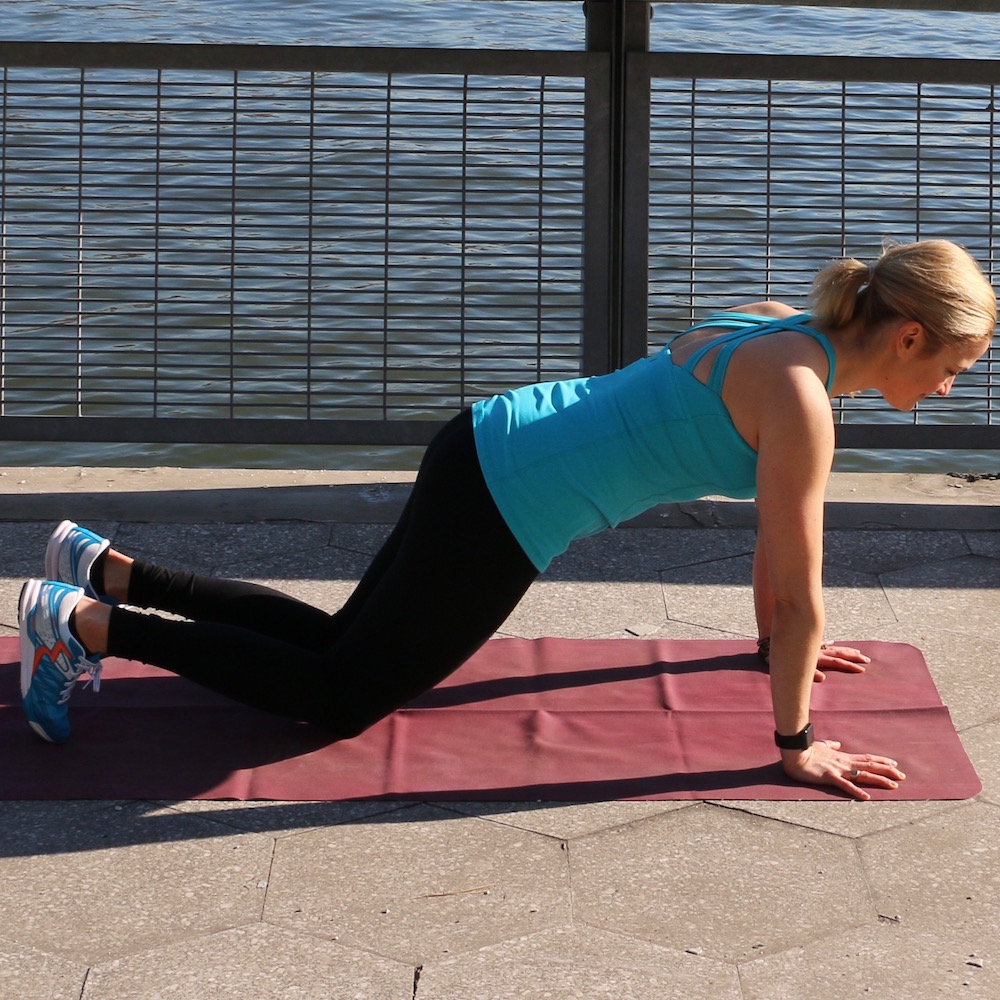
Begin on hands and knees with forearms shoulder-width apart. Prayer your hands together, or keep forearms parallel with palms flat against the ground (depending on what feels better on your shoulders). Tuck toes, lift knees off the ground, and step feet back. Reach through the heels and crown of the head, keeping a long spine. Engage navel to spine and breathe here (lower knees, if necessary).


IMG_1762 (1)

Category A: Plank with Knees-Down Variation

When forearm plank becomes old news, it’s time to step it up to plank. Keeping your knees on the ground is a good place to start if you don’t feel quite ready for the full pose.

Start on hands and knees. Step feet back so they’re hip-width apart, keeping toes tucked and shoulders and wrists in line. From here, drop knees to ground. Tuck chin slightly, keeping spine in line with body. Engage navel to spine. If you can, lean forward so there is more weight in your arms and hands. Breathe here for 30 seconds. Work your way up to 40 seconds, then 50, then 1 minute. When 1 minute becomes manageable, move on to full plank.

IMG_1772 (1)

Category A: Plank

When the other two variations of plank become less challenging, move on to the full pose.

Start on hands and knees. Step feet back so they are hip-width apart, keeping toes tucked and shoulders and wrists in line. Tuck chin slightly, keeping spine in line with body. Engage navel to spine and energetically reach back through heels while pushing through crown of head. Make sure your shoulder blades are equally engaged down your back. Do not lock your elbows. Breathe here for 30 seconds, then 40 seconds, then 50, then 1 minute.

IMG_1779 (1)

Category B: Chaturanga

From plank, come forward on the balls of your toes. Engage core and soften through elbows, reaching them straight back until forearms graze ribcage. Lengthen through your tailbone and engage navel to spine. Try to breathe here for 10 seconds, working your way up in increments of 5 seconds to 30 seconds.

IMG_1799 (1)

Category C: Hip-Opening Crow Variation

Start in modified squat. Plant palms shoulder-width apart on the mat, lining wrist creases up with the front edge of the mat. Press into fingertips, look slightly forward, and take inner thighs to outer upper arms. Lightly use thighs to squeeze arms toward one another. Bend elbows softly, keeping them in line with shoulders, not winging out, and, one at a time, lift feet off the ground, reaching heels toward butt. Keep gaze slightly forward and start to lengthen arms. Breathe here for as long as you can. Try starting with 5 seconds, and work your way up to 30.

IMG_1788 (1)

Category C: Shoulder-Press Pose

From a standing forward fold (feet just wider than hips distance), place your hands on the ground (or blocks for a slightly more accessible option) behind your heels (fingertips facing your heels, wrist creases in one long line) as you bend your knees. Make a shelf for your legs with your arms and sit on your upper arms/shoulders (you can slightly bend your elbows to do so). Cross your ankles, squeeze your thighs into your shoulders, and lift your heels off the ground by leaning your butt back. Breathe here for as long as you can. Start with 5 seconds and work your way up to 30.

IMG_1805 (1)

Category D: Handstand Against a Wall

Press palms firmly into the ground about a foot and a half in front of right foot and about half a foot away from a wall, shoulder-width apart, wrist creases parallel, fingers spread. Come high onto the ball of right foot. Using left leg to lift you, transfer weight onto hands or take little hops off right foot until you are upside down. Hop lightly until top foot catches on the wall, then bring second leg to wall and breathe there. Engage shoulder blades down and together on back, and press into fingertips for stability. Try to work your way up to a minute—you can lean against the wall as much or as little as you want. Every other time you try this, switch the leading leg.

Leave a Reply

Your email address will not be published. Required fields are marked *

Newsletter Updates